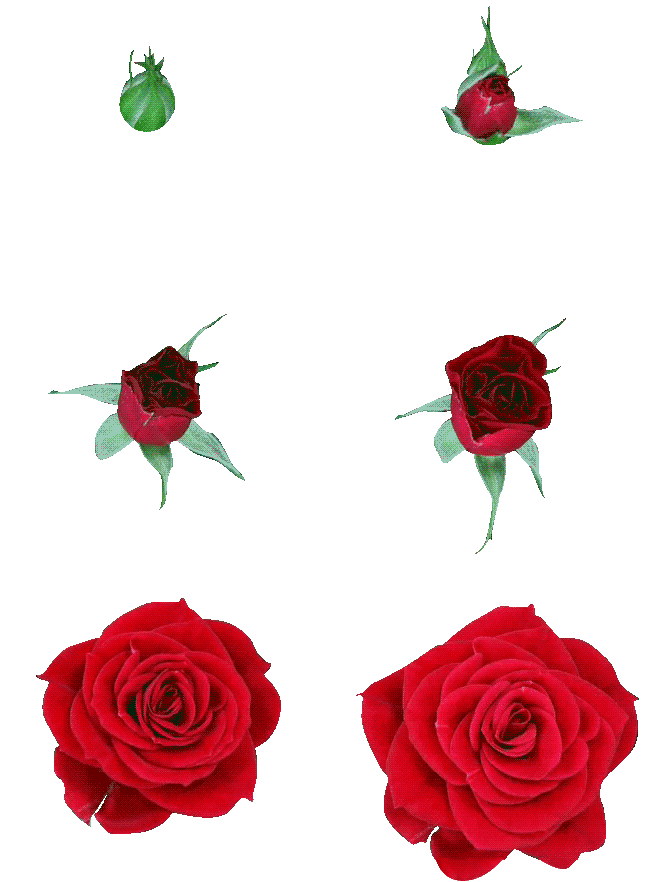
To ‘prune’ – “to lop or cut off the superfluous parts, branches, or shoots (of a plant) for better shaped or more fruitful growth; to shape or smooth by trimming; to cut off or cut out (dead branches from a rose bush).” In colder climates the removal of dead branches may well be the prime activity, but in warmer climates the main emphasis is certainly on the opportunity to shape the bush for the Spring bloom. It is this practice of regulating the shape that can enhance the landscape ambiance of the rose garden and ensure a vigorous first bloom that makes the effort all worth while. Second, the act of pruning if approached logically can encourage new basal growth from the bud union – usually regarded as strong evidence of good health. Third, the removal of old wood and damaged or diseased parts can allow a recuperative process to take place for increased growth power.
This removal of branches and sometimes old canes serves as a form of dormancy in warm climates since it cannot be achieved naturally. Since it has been proven that it is a healthy habit to allow rose bushes a period of non-production, the act of pruning does permit a time period where the governing biochemical processes are slowed down and redirected to produce that first magnificent spring bloom. In greenhouse production, for instance, the rose bushes are never given a formal prune to allow them to rest, but are groomed continuously to produce flowers for certain special holidays and events. Within a few years they burn out or become poor performers and have to be replaced. Allowing a rest period each year prolongs the life of the bush and makes sure that bloom quality and quantity is maximized for the home garden. It is often remarked that the first bloom cycle is the most attractive and the spring rose shows certainly prove that conclusion. The growth pattern in that first bloom cycle is the beneficiary of the forced redirection of stored nutrients via proper pruning.
EQUIPMENT NEEDED
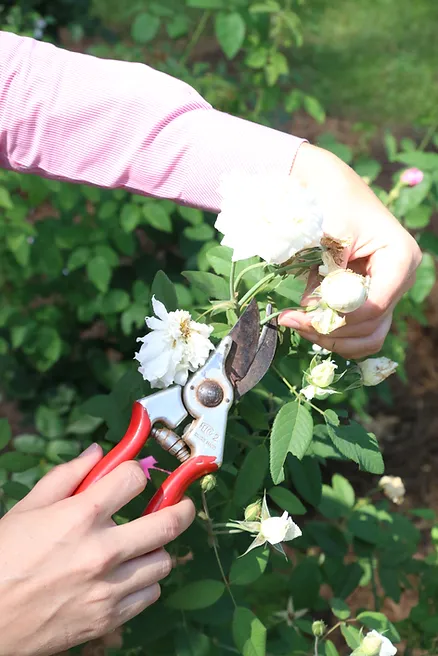
Above all else, investment in a pair of high quality pruning shears is mandatory. After all the expense of buying the rose bush and the planting process, you have already invested about $10.00 to $20.00 per bush. A good pair of pruning shears from Felco® (Swiss Import) or Corona® (made in California) will cost between $25.00 and $40.00. There are other manufacturers, but these two companies have track records for providing the highest quality products. The pruning shears should be the scissor type not the Anvil type. Felco has a special hand grip designed for left-handed people, swivel handles, and even a model with removal blades for maintenance. For miniature roses, there are smaller versions of these pruning shears which rely on a smaller blade surface.
For removal of large woody canes at the bud union a pruning saw from Corona will allow access for flush removal. Attempts to use pruning shears for these jobs usually results in damage to the bud union. It is best to approach cane removal with a proper saw designed specifically for the job.
For cutting large diameter canes a pair of lopping shears with 18″ handles can facilitate the cutting without placing too much pressure on your hands. Again, attempts to cut large diameter canes with pruning shears will require a lot of extra strength in your hands. The lopping shears with long handles solve the strength problem and makes the cut clean and sharp.
Invest in a small wire brush (about 2″ wide by 3″ deep) to help remove loose bark away from the bud union. Such treatments can encourage basal breaks and stimulate new growth since growth often finds it impossible to break through the heavy tree-like bark encountered on older bushes.
Finally, save on profanities while pruning by buying a good strong pair of thick leather gloves that are puncture proof. There is nothing so irritating than a thorn under the nail to cause a string of words rarely heard in a rose garden!
THE ANGLE TO CUT
By far the most important technique to master in pruning roses is the correct angle and direction of the primary cut. The final pruning cut should be made at approximately a 45 degree angle, about 1/4″ above a leaf axle where there is a dormant eye. (See picture at right.) If the bush has foliage present, the cut location is easy to find. However, cuts are often made further down canes where there is no foliage to guide you to the appropriate cut. Under these circumstances look for the dormant eye on such canes by locating where foliage was once connected. The eye is normally visible as a slight swelling above the surface of the cane. Making these primary cuts is the key to success in pruning. To help understand the importance of making such cuts, the following diagram illustrates five ways to perform it, but only one that is correct. The cut should be made such that the growth that will eventually emerge from that eye will naturally point away from the center of the bush. This deliberate planning of new spring growth patterns is what gives the rose bush a pleasing overall circular shape that spreads from the center outwards. Such cuts avoid the growth from being directed inward and colliding with other stems. The basic logic behind making the cut slope down and away from the eye is that the excess natural sap that will rise to seal the cut can pour down the opposing side of the cane and not interfere with the developing eye. Master these two simple rules and the shape of your spring growth will be guaranteed to give an overall pleasing growth habit for the rest of the year.
1. The classical correct cut.
2. Cut too far above the eye.
3. Cut too steep an angle above the eye.
4. Wrong direction of angle cut.
5. Cut was badly executed, but more seriously a new pair of pruning shears is required.
GENERAL TIPS ON PRUNING
A number of general points of advice for good pruning can be outlined.
1. Always prune cut to good healthy tissue easily recognized by the green bark on the outside of the cane and white pith core revealed after the cut is made.
2. To accelerate the sealing process after the cut is made, a drop of carpenter’s glue (or nail polish or black pruning sealer) can ensure a quicker recovery as well as provide an instant protective barrier against cane borers (those insects that drill several inches into the white pith core and deposit their eggs.)
3. Prune to ensure the center of the bush is open for maximum air circulation, i.e., canes emanate from the bud union like spokes of a wheel with no cross-overs or interferences. Imposing this type of architectural structure on the rose bush will help prevent powdery mildew in the Spring via good air circulation within the bush. Additionally the overall shape of the bush will be pleasing to the eye when blooms finally appear.
4. Plan to remove all weak or twiggy growth on main canes that is and not capable of sustaining a reasonable thickness of stem. Hybrid tea blooms need a stem about pencil thickness or greater for support.
5. Remove suckers if present (i.e. growth from the root structure below the bud union). Remove them from as close to the main root cane below the bud union as possible. Suckers can only appear on varieties that have been budded such as hybrid teas. The sucker represents the growing habits of the understock used for budding, usually Dr. Huey. If allowed to grow, the sucker will eventually take over the whole bush and suppress the variety budded onto it. Understock varieties can easily be recognized by their flowers (pink and five to twelve petals in the case of Dr. Huey).
6. Remove old canes that appear woody by sawing them off as close to the bud union as possible. Make this cut clean and smooth. Should any stubs from bad cuts made last year remain, saw them off cleanly. Finally, apply a wire brush to the woody epidermis of the bud union to loosen and remove any dead tissue to promote basal activity.
7. Remove any remaining foliage from the canes after pruning has been completed, and clean up around the bush discarding all foliage as trash.
